Fold, dye, reveal
Your first tie-dye project at home
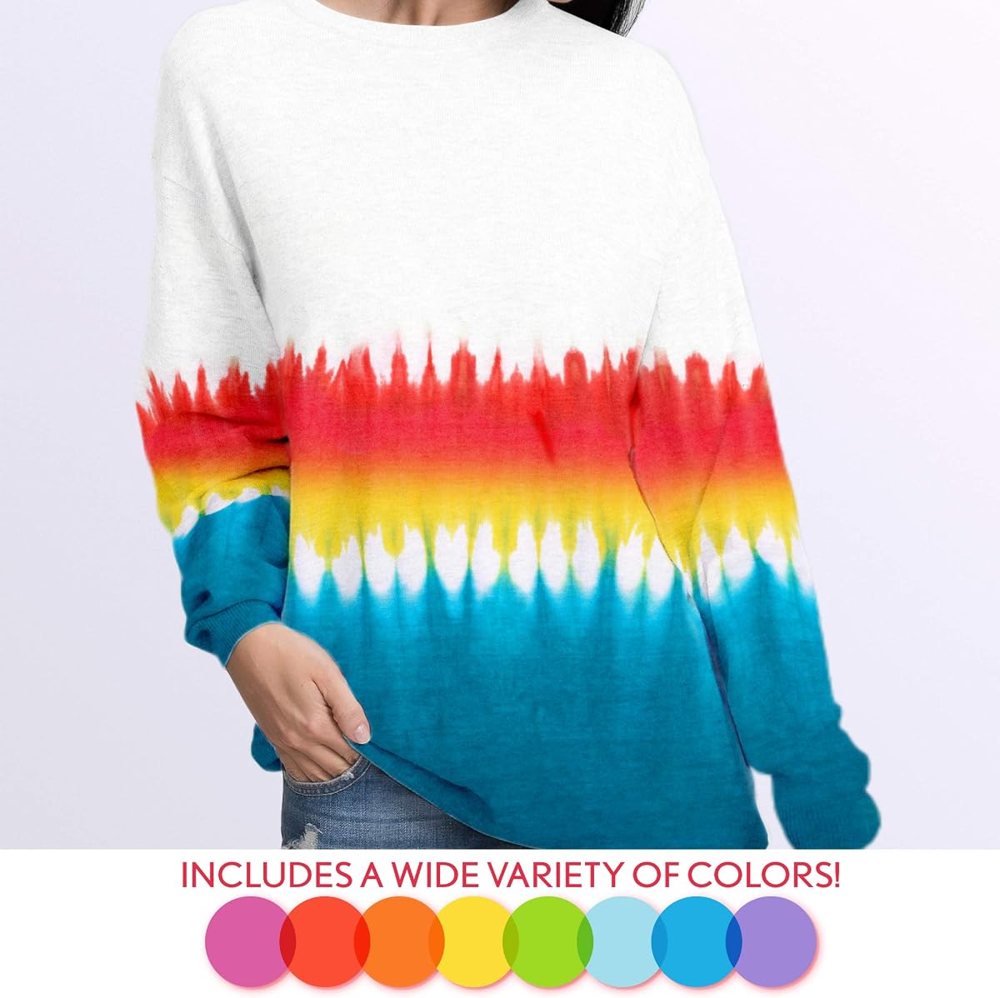
Tie-dye is the biggest sticker you will ever press onto a shirt — and the most exciting reveal in crafting. You fold it, band it, squirt on color and then wait, never quite sure what will appear. This guide covers everything for a first project at home: prep, folding patterns, dyeing, rinsing and setting the color so it lasts.
Get ready before the dye comes out
- Pick the right fabric. Our dyes work best on 100% cotton — tees, pillowcases, socks, bandanas. Blends come out paler.
- Prewash it. New clothes often have a finish that keeps dye from soaking in. Wash without fabric softener first.
- Pick your spot. Outdoors is ideal. Indoors, cover the table with a plastic tablecloth or trash bags and keep paper towels close.
- Dress for mess. Old clothes, hair tied back, and the gloves from your kit on before you open a bottle.
- Mix the dye. Add water to the bottles following your kit's instructions, cap tightly and shake.
Three folds to start with
- The spiralLay the damp shirt flat. Pinch the center, twist until it coils into a flat disk, then band it with three or four rubber bands crossing in the middle like pizza slices. Dye each slice a different color.
- The bullseyePinch the center and pull the shirt up into a long cone. Add rubber bands every couple of inches down its length. Dye each section a new color for rings.
- StripesFold the shirt like an accordion or roll it into a tube, then band it every few inches. Dye between the bands for bold stripes across the shirt.
- The crumpleScrunch the shirt into a loose ball and wrap a few bands around it. Squirt colors at random for a marble effect — the most forgiving fold there is.
Dye day, step by step
- Dampen the fabricWet the shirt and wring it out until it is damp, not dripping. Damp cotton pulls dye in evenly.
- Fold and bandChoose a fold from above. Snug rubber bands make crisp white lines; loose ones blur the colors.
- Apply the dyeSqueeze color into each section, pressing the bottle tip into the folds. Flip the bundle and dye the back too, or you'll find big white patches later.
- Mind the neighborsColors that touch will blend. Pink beside yellow makes orange; yellow beside blue makes green. Put opposite colors like red and green apart to avoid muddy brown.
- Let it setWrap the bundle in a plastic bag so it stays damp and leave it to set for as long as your kit's instructions say. Many dyers leave it overnight for richer color.
- RinseWith gloves on, rinse the bundle under cold water with the bands still on, until the water runs mostly clear. Then cut or slide off the bands and rinse again.
- The reveal and the dryUnfold, admire, then wash it on its own and dry. If your kit includes an iron-on transfer, now is the time — a grown-up handles the iron.
Quick answers
Will the dye stain my hands or table?
It can. That is why the gloves and a covered surface matter. Wipe spills right away with a damp paper towel.
My colors came out pale. What happened?
Usually a polyester blend, too little dye in the folds, or a rinse that came too soon. Next time try 100% cotton and let it set longer.
How do I keep it bright?
Wash it alone or with dark colors for the first few washes, in cold water, and follow the care tips in your kit.
Kits for your first dye day
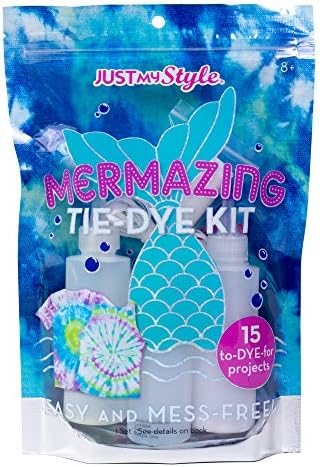
The Radical Rainbow Tie-Dye Kit gives you eight colors and 20 rubber bands for 18+ projects — great for stripes. The Mer-Mazing Tie-Dye Kit and Neon Tropics Tie-Dye Kit each have pink, yellow and blue dyes that mix into new shades, plus an iron-on design to press on top once your shirt is dry.
 Personalized Accessories
Just My Style Mer-Mazing Tie-Dye Kit
4.6 1,944 ratings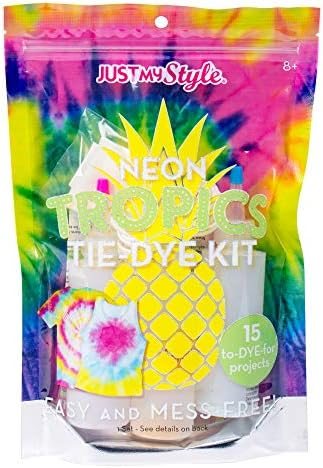 Personalized Accessories
Just My Style Neon Tropics Tie-Dye Kit
4.5 265 ratings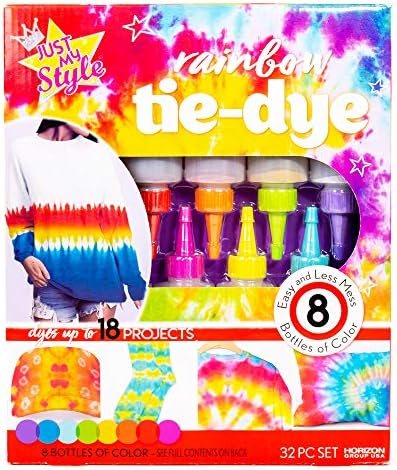 Personalized Accessories